"Ruffles Upon Ruffles" Quilt
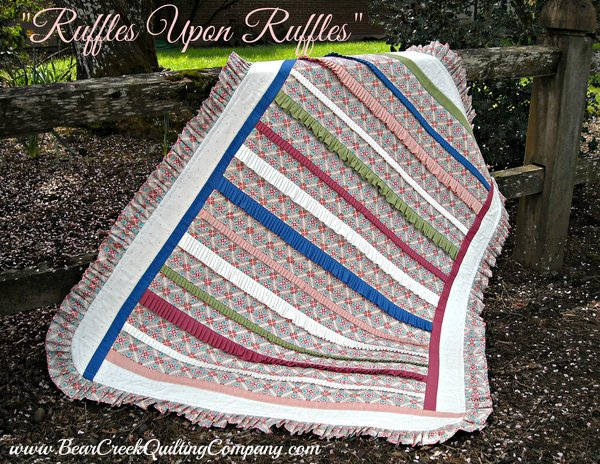
I am excited to share with you the final steps in finishing the Think Ruffles Blog Hop ruffles quilt. I have named it Ruffles Upon Ruffles. It seemed like a worthy name.
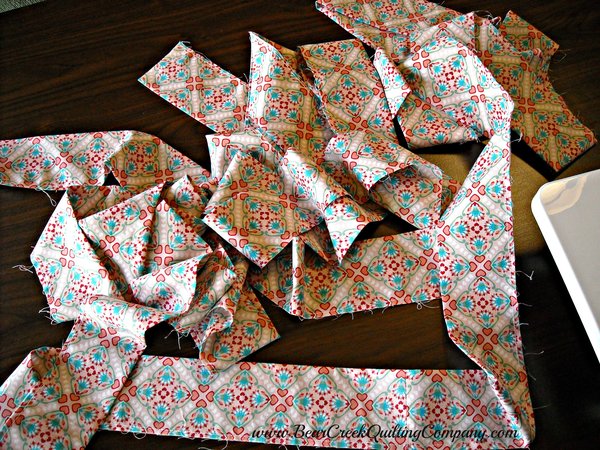
I last left you with just the quilt top finished. Then it was time to make the edging ruffles. Miles and miles of more ruffles! I found the ruffler sewing machine foot very helpful. Slow and consistent! This was not a speedy rabbit race.
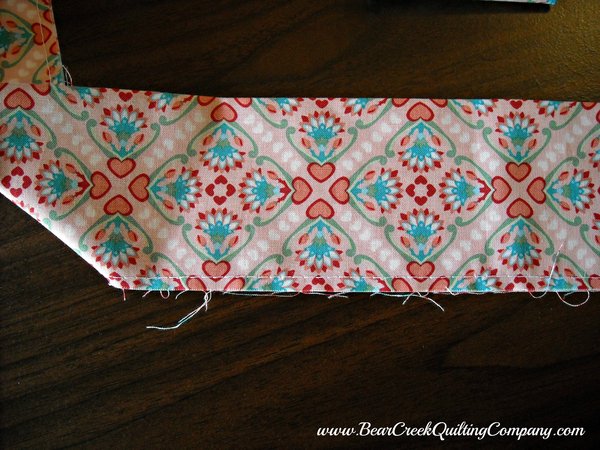
I learned a handy tip while creating so many ruffles with the ruffler sewing machine foot; fold your soon to be ruffle strip of fabric in half and press. Then sew a quick straight seam along the raw edge, before you starting sewing. This allows the ruffler sewing machine foot to feed both layers through your machine equally. (I found that the bottom piece of fabric wanted to pull out and away from the top piece which caused me some grief until I out-smarted the problem.)
So, I am sure there is a mathematical equation for calculating how much fabric you need to make to make an edging ruffle based on the stitches per length, based on the ruffles per stitch, based on...you get my point.
I decided to take the unscientific direction.
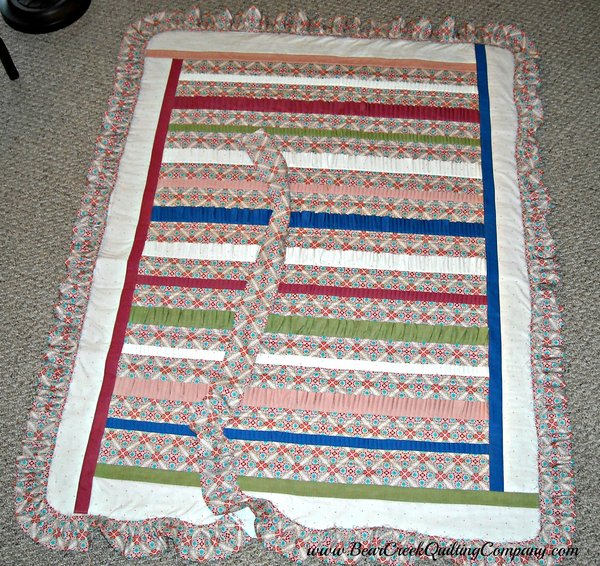
I cut my fabric into strips and adjoined all the ends just like you would do for a regular binding. That's easy! Now, what you don't know at this point, is I only had so much fabric left for the ruffled binding. This was it. No more to be had. So I ruffled and ruffled and ruffled the miles and miles and miles of fabric. And then I laid it out along the edge of the quilt and was in complete shock that it was enough for the edging plus a little to work with. This was a YAHOO moment! YAHOO!
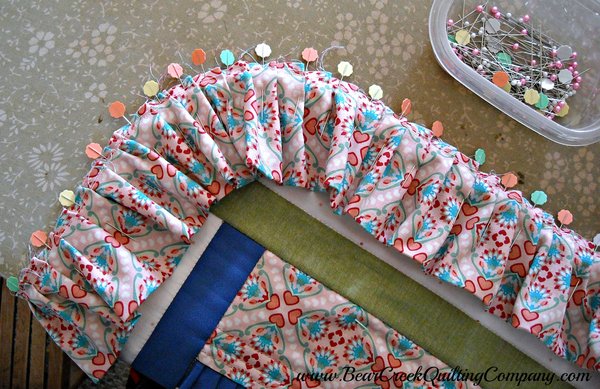
The corners were rounded for ease of adding the edging ruffle.
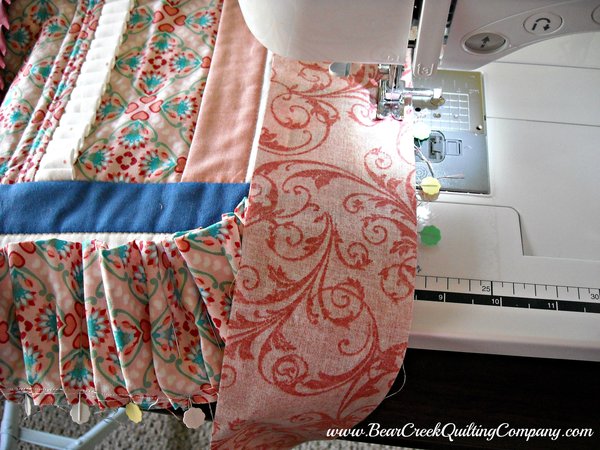
Back to the sewing machine with edging ruffle pinned in place. I layered the edging ruffle between the quilt and a matching piece of the backing fabric. I used a very generous 1/4 inch seam allowance to make sure to capture the edging ruffle completely and securely. I didn't want those ruffle seam lines to show through and I wanted the edging ruffles to be strong so I also used a shorter stitch length.
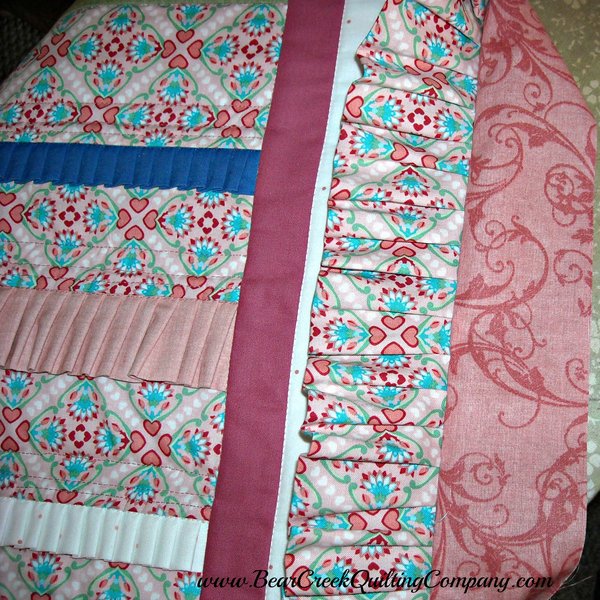
Yeah! No ruffle seam lines showing through.
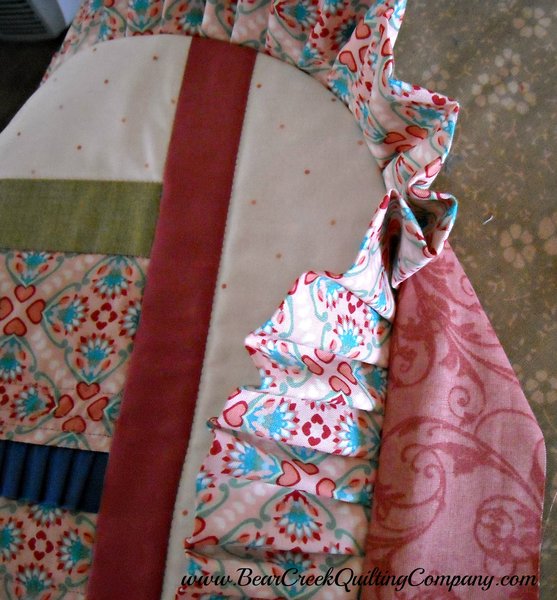
This picture shows the edging ruffle is sandwiched securely between the quilt and matching backing fabric.
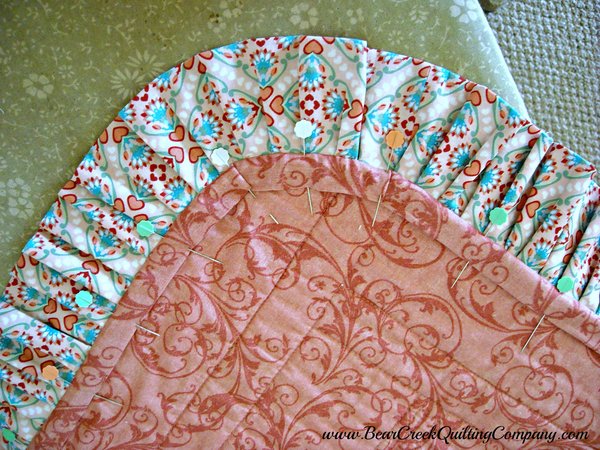
Matching backing fabric is folded under and pinned into place for sewing.
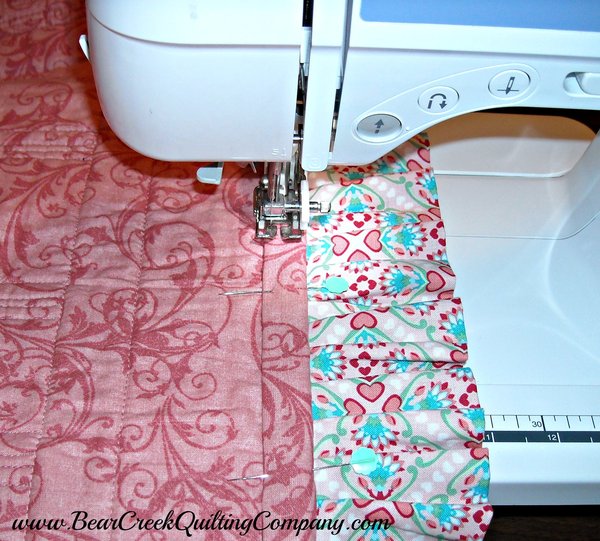
I machine finished the binding. This added a pretty machine quilting line around the edge of the front of the quilt and again secured the edging ruffles into place.
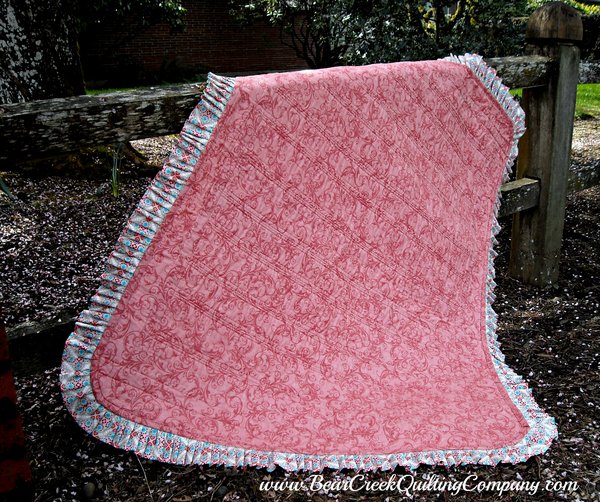
I tried capturing the shadows of the machine quilting in this picture. I am really very pleased with my first attempt at machine quilting.
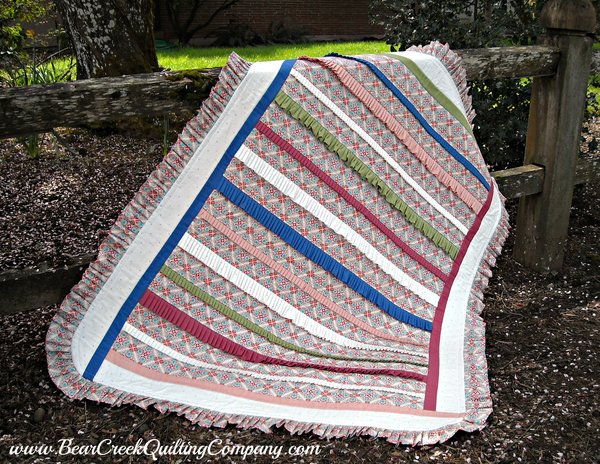
After a quilt label is sewn into place, the Ruffles Upon Ruffles quilt will be packaged up in a pretty birthday box and headed out to one very special niece for her first birthday in May.
Thank you again to Madame Samm at Sew We Quilt for a wonderful challenging blog hop idea!

Fabric used in the Ruffles Upon Ruffles Quilt is Grace from RJR Fabrics, Kona Cotton Solids by Robert Kaufman and Color Weave by Moda. Backing fabric is Flourish by Henry Glass.
Do you love free fabric? Do you love to teach? Want to be a contributor on our blog? Send us an email at web@bearcreekquiltingcompany.com to get started!



Comments