Posted by Shari on May 3rd, 2015
| Airmail Envelope Quilt - Part 4: Quilting and Finishing |
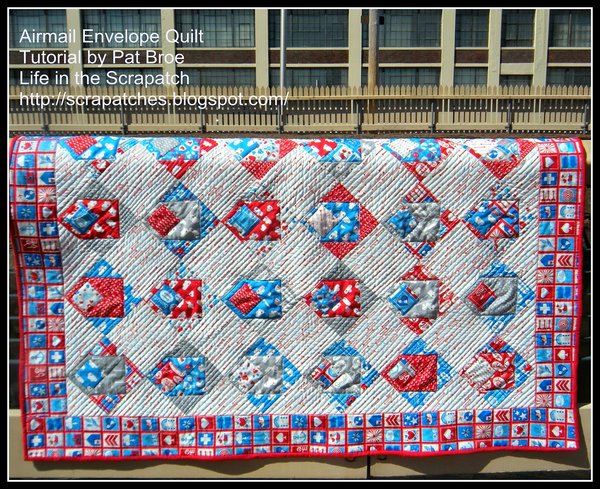 |
| It's time to finish the Airmail Envelope Quilt! You can find Part 1, 2 and 3 here. |
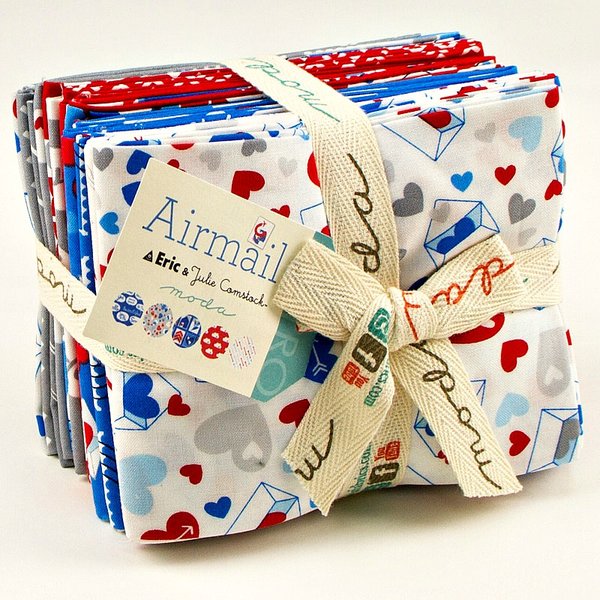 |
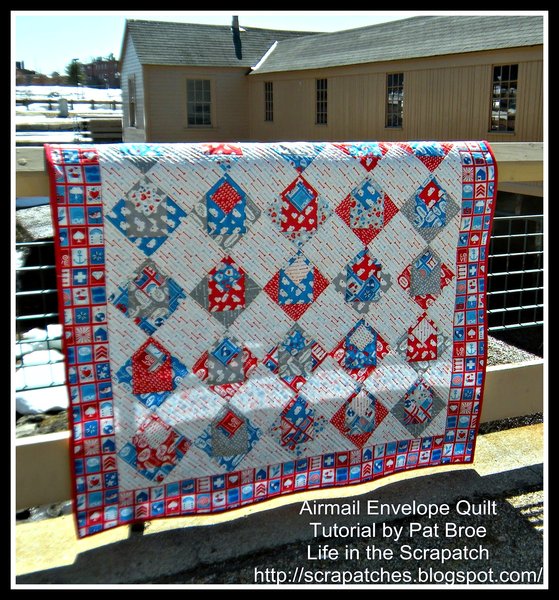
| Airmail from Moda! I really love this bright and happy fat quarter bundle. Opening a new fat quarter bundle is like unwrapping a lovely gift, one that goes on giving while I enjoy making and then giving the quilt. This one is for an adorable baby boy! |
 |
| To finish this quilt you will need: |
Backing Fabric:
|
| I cut the backing fabric in half and pieced with one horizontal seam, which I pressed flat to make the backing as sooth as possible. |
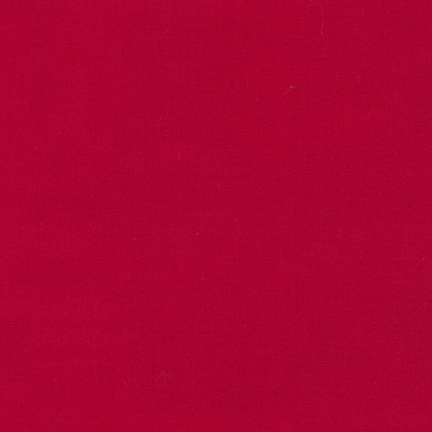 |
Binding Fabric:
|
Batting:
|
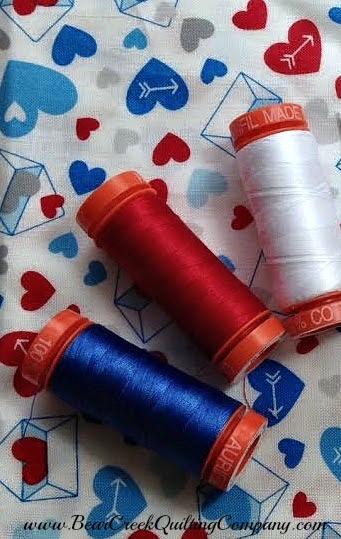 |
I used these color coordinated Aurifil threads sent to me by Bear Creek Quilting Company for the quilting:
|
| I also used Gray #2605, which I had in my stash and forgot in the photo. Oops! The weight is Mako 50, which I normally only use for piecing, but they worked perfectly for quilting. I had to loosen my tension slightly on my Janome 6600p. I doubled the thread for hand binding to give it a little extra strength. I love working with Aurifil cotton threads! For the quilting, I did a straight line with my walking foot and I just "followed the arrows." |
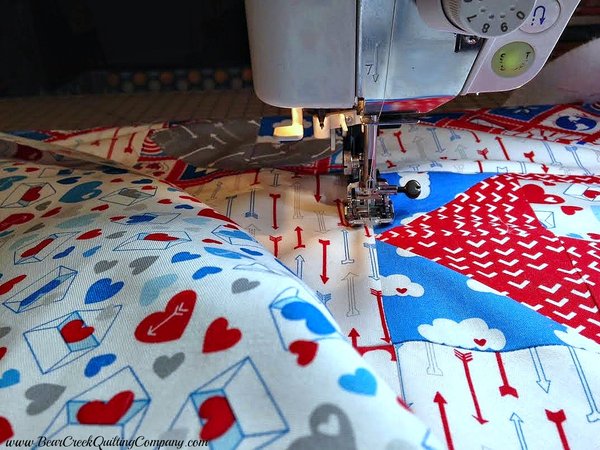 |
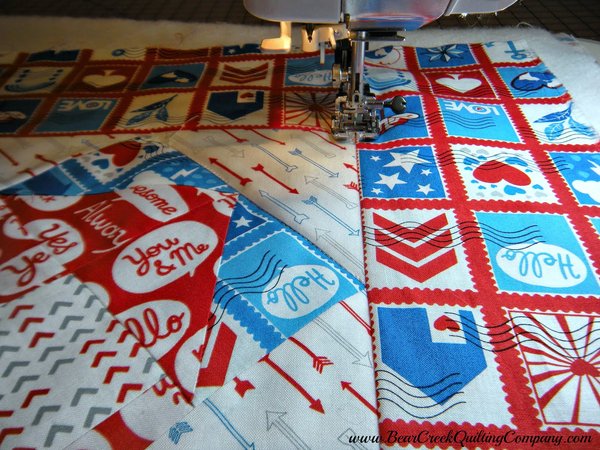
| Using the white thread, I stitched in the ditch (SITD) along each of the seamlines between each row, on the diagonal, running in the same direction of the arrows. |
 |
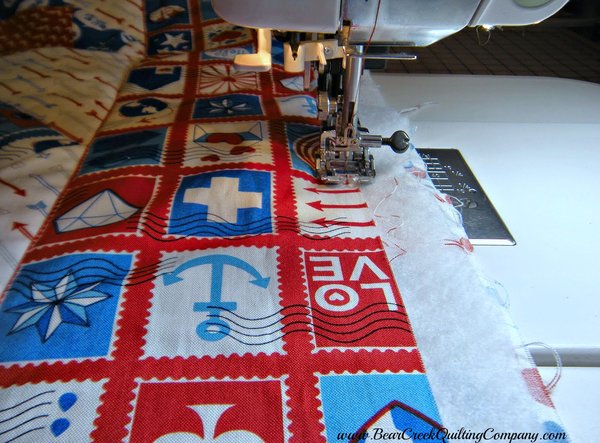
| Then I stitched around the center of the quilt and the outer border. |
 |
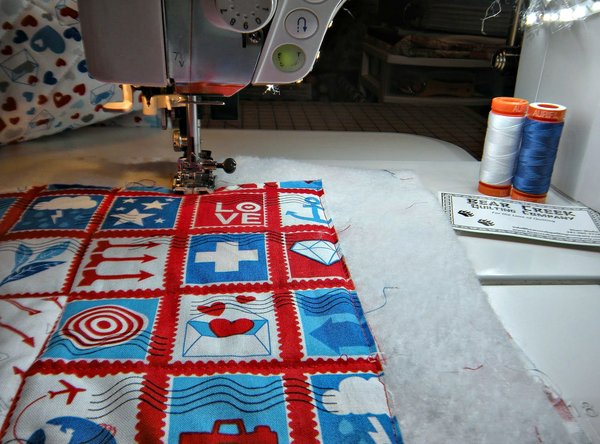
| Then I ran one line of stitches 1/8 inch inside the outside edge of the top. This is my usual method for securing the quilt sandwich. I do not use pins. I smooth the front of the quilt over the batting, turn it over and smooth on the backing. I do this several time until the sandwich is smooth and wrinkle free and then I lightly press with a warm iron. I do check the back from time to time to be sure that I have not gotten a wrinkle throughout the quilting process, but this works well for me. |
 |
| Next, I switched to the red in the top thread, keep the white in the bobbin. |
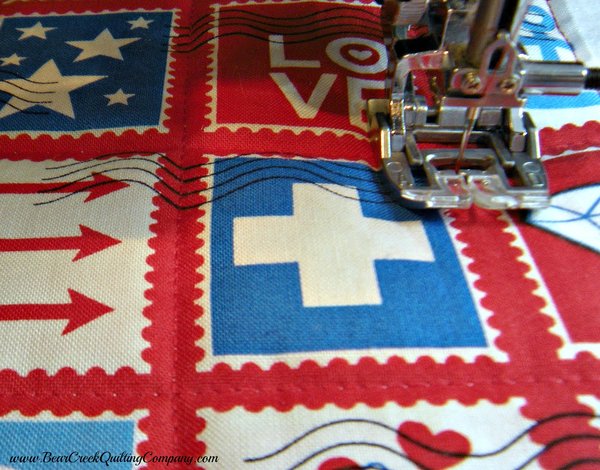 |
| I stitched a grid on the red lines, between the postage stamp motifs, in the outer border. I really liked the way the red thread sank into the fabric and outlined the stamps. |
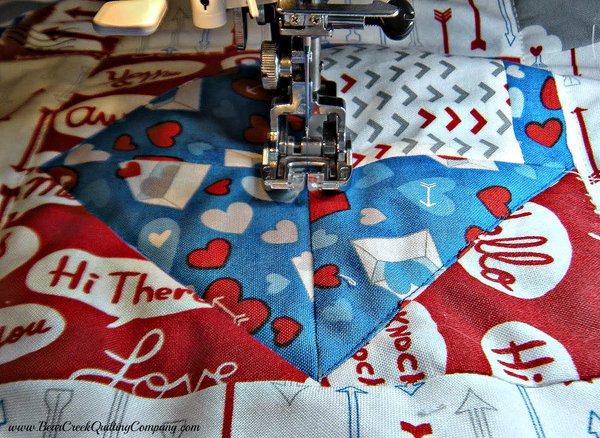 |
| For the center of the quilt, I stitched around each envelope and around the square, matching the thread to the fabric colors; red for red, blue for blue and gray for gray. |
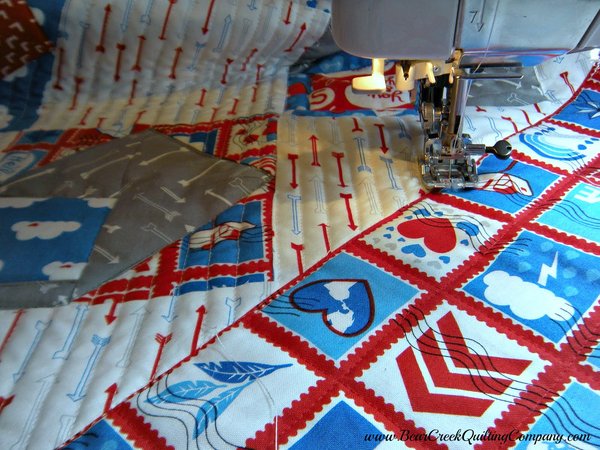 |
| Then I put the white back in the top thread and stitched lines 1/2 inch apart, along the arrows and the setting triangles on the envelope blocks. |
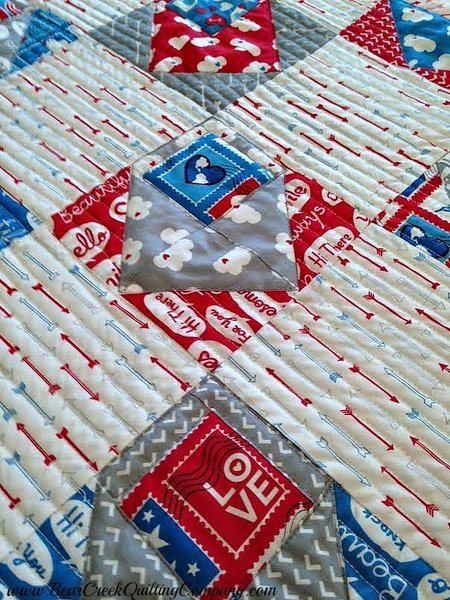 |
| This made the envelopes stand out nicely! |
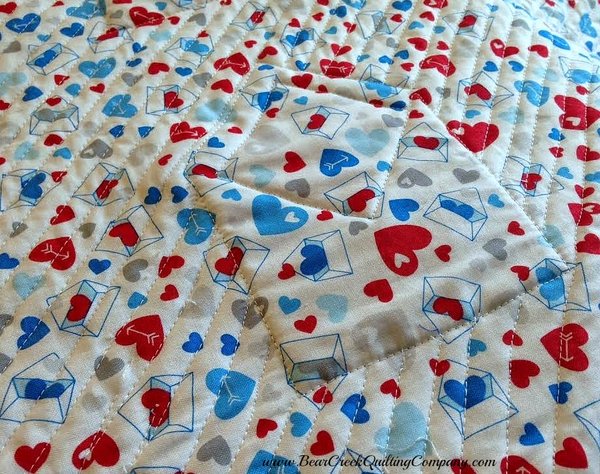 |
| Here is a close up of the quilting on the back. The white thread sinks right into the white background. I love this effect! |
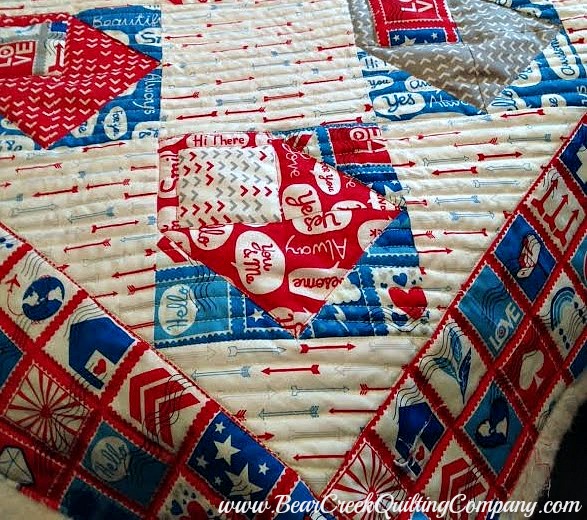 |
| Ready for binding! |
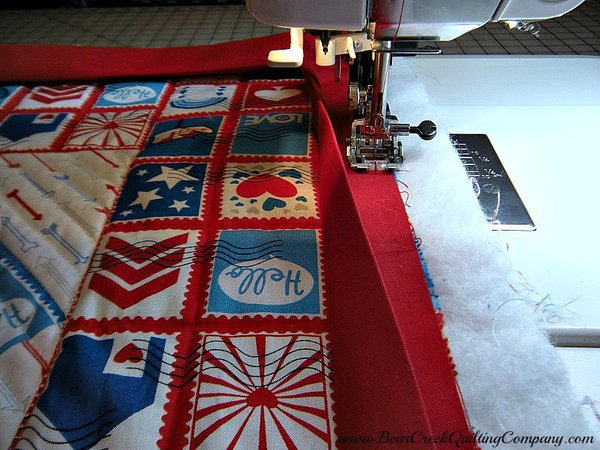 |
| This is my favorite method: I press one edge in 1/4 inch, then press in half and stitch the open end to the edge of my top. I trim the batting to 1 inch from this thread line. |
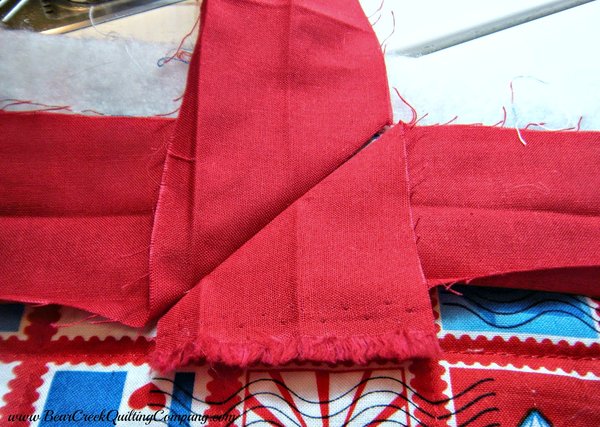 |
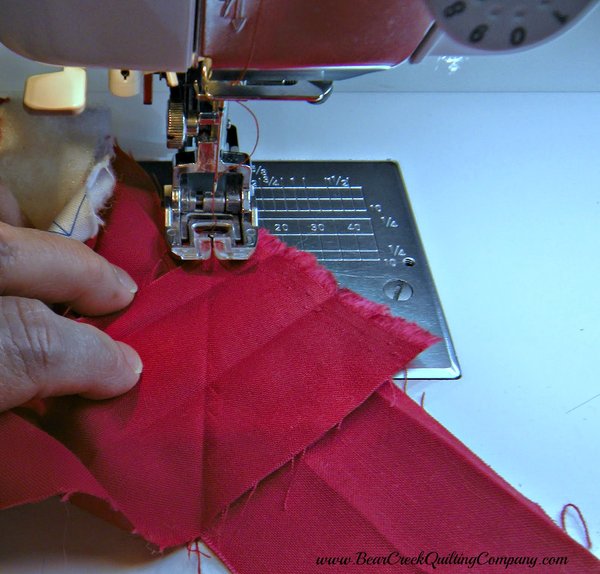
| I leave ten inches open on either end of the binding. I open the binding and finger press the diagonal to close the binding. |
 |
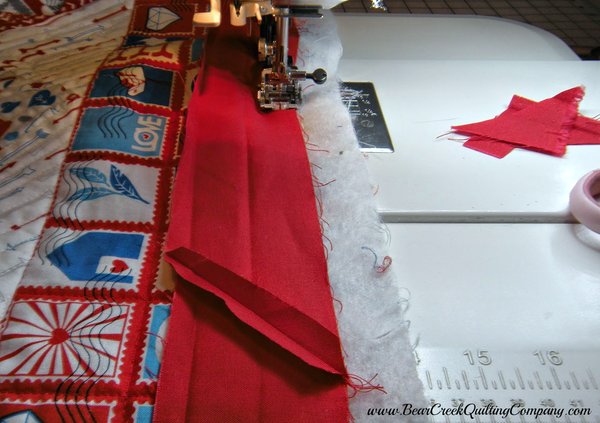
| I stitch on the crease. |
 |
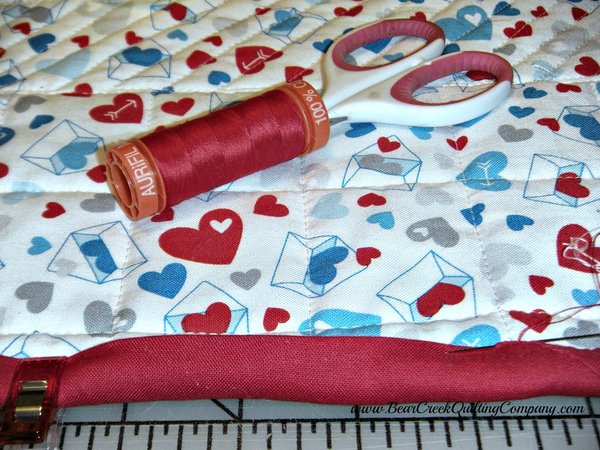
| I trim and press the seam open and then finish stitching the binding to the top. |
 |
| Then I fold over the edge and hand stitch the binding to the back. That give the effect of a double fold binding without the bulk of the seam on the front. I love hand stitching the back. Making the last stitch, snipping that tread and turning over my new quilt is my very favorite part of the quilting process. The joy of seeing my beautiful new finished quilt never gets old! |
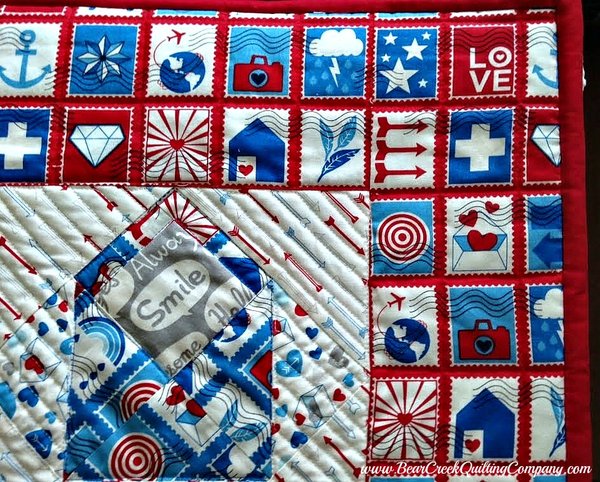 |
| Here is the closeup of the corner of the finished quilt. |
 |
| I hope you have enjoyed this tutorial. Thank you to Bear Creek Quilting Company for this wonderful opportunity to share my love of fabric and quilting with you and for my beautiful new quilt! If you sew this quilt, we would love to hear from you. You can send your pictures to share to web@bearcreekquiltingcompany.com If you have any questions, please email me at scrapatches@gmail.com and I will do my best to help. ***The PDF instructions for Airmail Envelope Quilt are now available. You can download it here.*** Happy Quilting! |
 |
| Thank you to everyone that followed along with Pat's wonderful Airmail Envelope Quilt Tutorial. Our talented group of contributors spend time and effort to design new projects to bring to you. Your encouraging comments are greatly appreciated. Ok, now on to the Give-Away Winner! We had 152 comment entries for the Airmail Fat Quarter Bundle... |
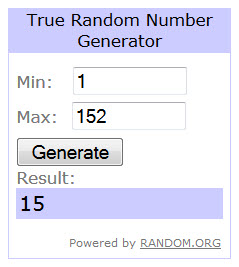 |
| ...and Mr. Random Number Generator selected number 15! |
 |
| Congratulations to Janice Lashley! |
| "Airmail Envelope Quilt" Tutorial was designed and created for Bear Creek Quilting Company by Pat from Life in the Scrapatch. |
| Fabric used in this tutorial is from Airmail by Eric & Julie Comstock for Moda. |
| Do you love free fabric? Do you love to teach? Want to be a contributor on our blog? Send us an email at web@bearcreekquiltingcompany.com to get started! |


Comments