Posted by Shari on June 28th, 2015
| Tiles Quilt-Along, Part 3: Time to Press, Press, Press |
| Hello again Friends! Welcome back to the Tiles Quilt-Along! This week, we will work on sub-cutting those strip sets and block assembly! (If you are just joining in, you can find Part 1 here and Part 2 here.) |
 |
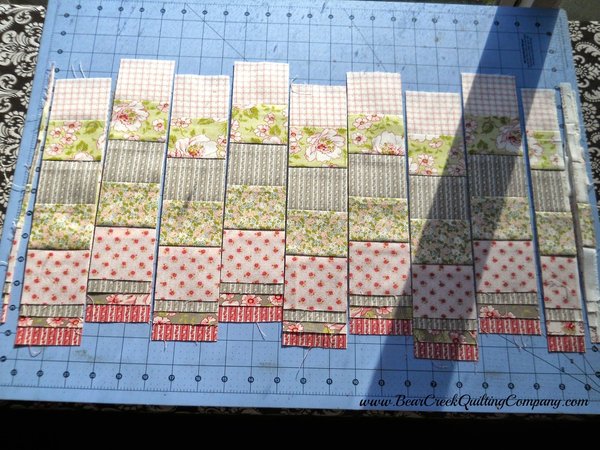 |
| The day I did sub-cutting, I actually had sunlight streaming in my window! Amazing for this time of year in Western Washington. Each of the strip sets of FIVE - 2 1/2 inch strips will be sub-cut into 2 1/2 inch wide sections. Again, I used my Shape Cut ruler, which I highly recommend! I stagger stacked up 4 strip sets to make cutting go faster, lining up the cut end so I only had to trim a small sliver from the left to straighten the edges. There was a small section at the selvedge on the other end that I could get a 1 1/2 inch section from - I went ahead and cut that and added it to my scrap bin. You should get 8 sections from each strip set (4 from the shorter ones) - making a total of 288 sections! (144 where the original strip set was pressed one way, and 144 pressed the opposite way - be sure to keep these separate for ease of block assembly!). You will use all but 3 of these sections in the quilt top, so cut carefully! I love a minimal waste quilt! |
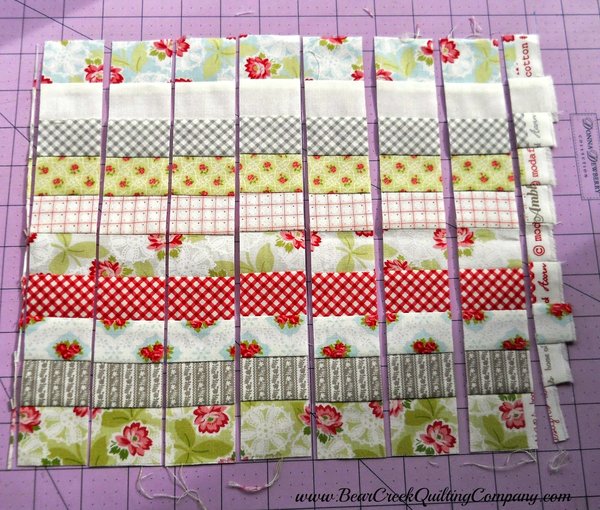 |
| Now, onto the 1 1/2 inch strip sets. This one pictured is one of the shorter strip sets. Trim a sliver off the left side to straighten the edge, then subcut into 1 1/2 inch sections. You should get 6-7 pieces from the shorter strip set and 13-14 from the longer strip sets. |
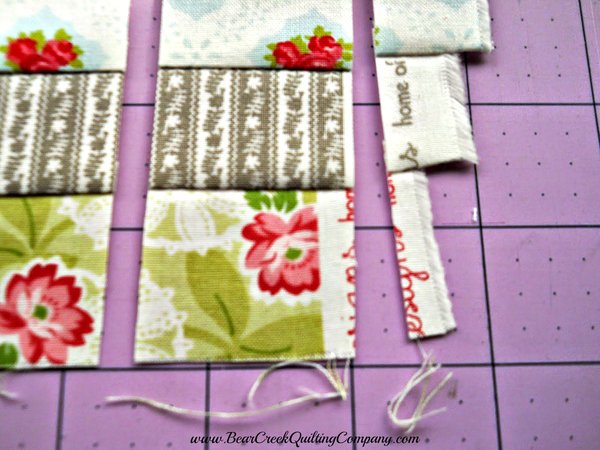 |
| If you get a section that has a little bit of selvedge in it - you can still use it as long as that part is less than 1/4 inch (it will be hidden in the seam). There are a few more 'extra' of these 1 1/2 inch strip sections, so you can hold these back until you have assembled most of your blocks if you prefer - you might not have to use them. Now, we can start block assembly! |
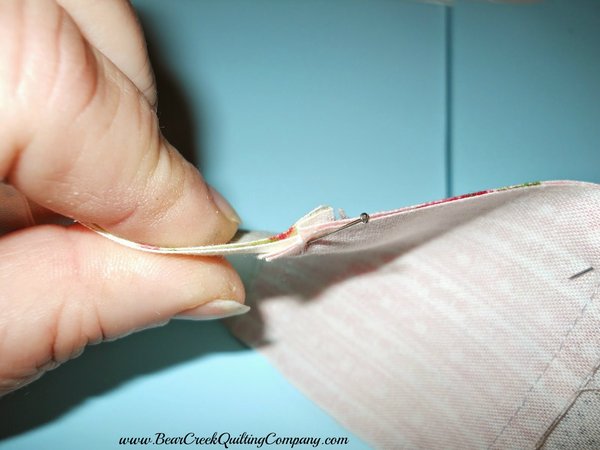 |
| You will alternate your sections so that when you line up the seams, the seams will 'nest' - this is the reason we pressed seams going in alternating directions - you don't need to "see" the seams are lined up, you can "FEEL" it. I 'wiggle' them together until they are perfectly nested together and pin the seam with my pins going at an angle to catch both seam allowances. |
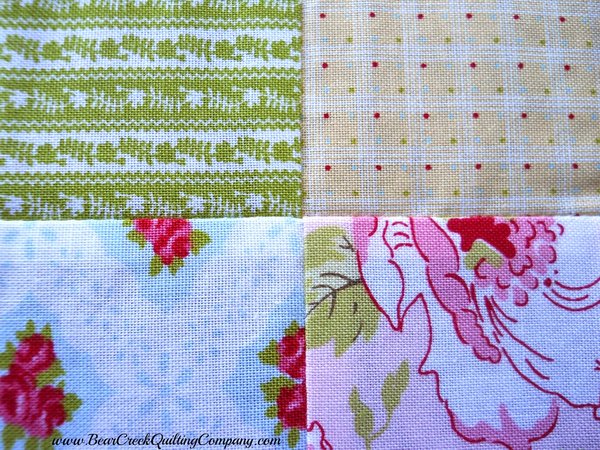 |
| See how perfectly they match if you "nest" your alternately pressed seams?! |
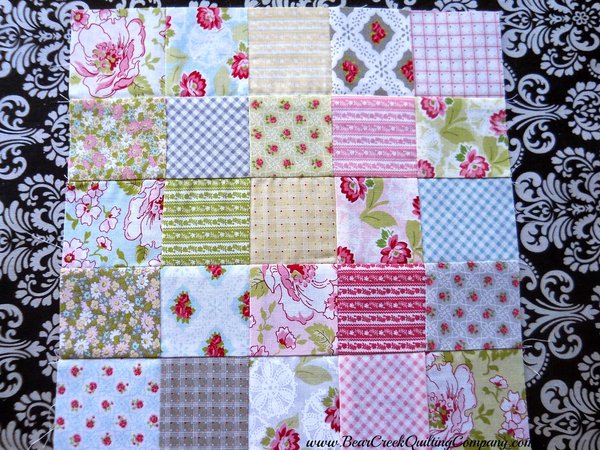 |
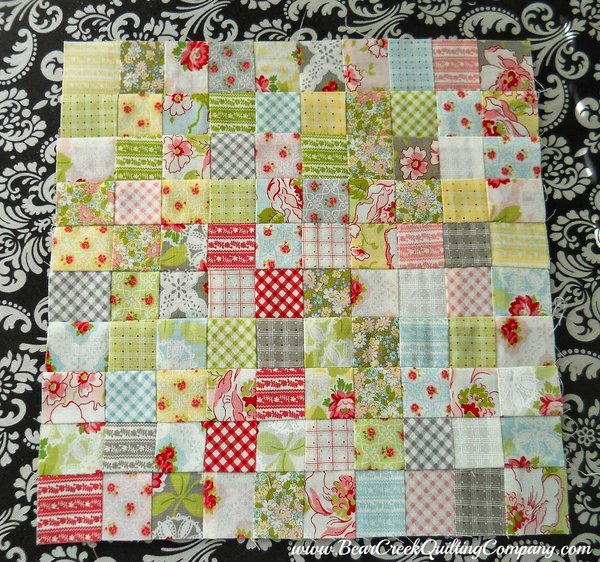
| You will sew together 5 sections to make your 25-patches. *PERFECTLY* matched seams! |
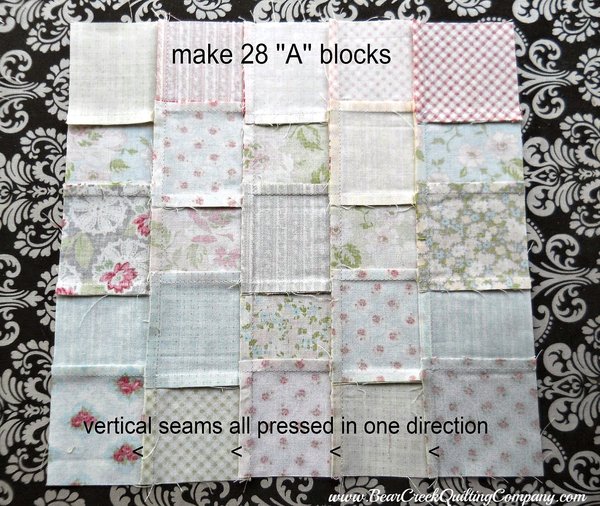 |
| Make 28 - "A" blocks - the vertical seams you can wait to press (all in one direction) until all 5 sections are together. |
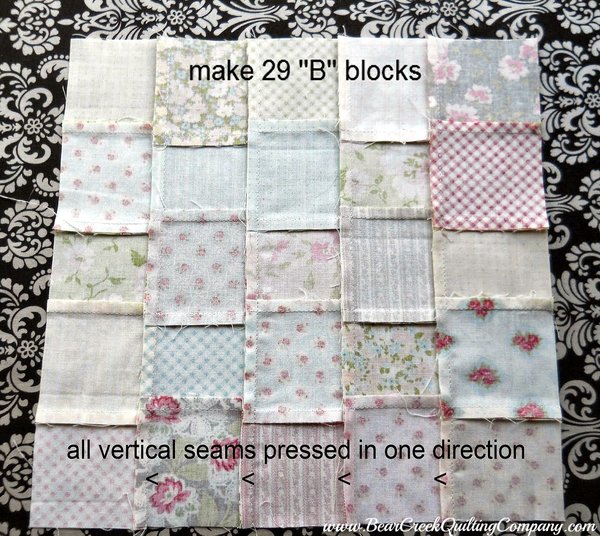 |
| Make 29 - "B" blocks pressing all vertical seams in one direction. |
 |
| For the blocks with the smaller patches, you will sew 10 sections together creating a 10 x 10 block (yes, 100 patches in each block!) Again, if you alternate the sections so that seams nest, you will get PERFECTLY matched seams! All these blocks will look the same until the final press. You will make a total of 24 of these blocks. |
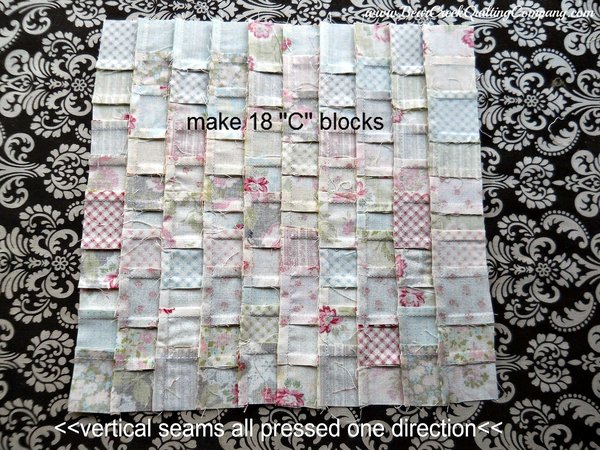 |
| The only difference between the "C" block and the "D" block is the direction that the vertical seams are pressed. Press 18 blocks like this (they will nest with each other and with the "B" blocks). |
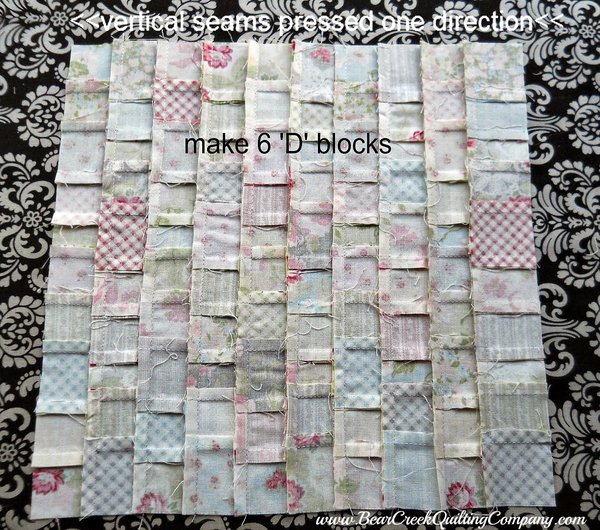 |
| Press 6 blocks like this - they will nest with the "A" blocks on one side and the "B" blocks on the other side. With those done, you should have all 81 blocks complete for your 9 x 9 configuration. Next week, we will do final assembly! I have started a Flickr group to share your pictures if you plan to join in the quilt along! https://www.flickr.com/groups/2827925@N23/ is the link to the group. |
 |
| "Tiles" Quilt-Along, Part 3 instructions can be printed here. |
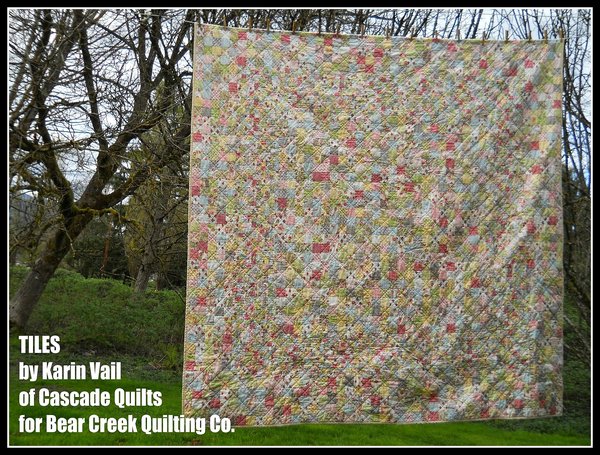
| "Tiles" Quilt-Along was designed and created for Bear Creek Quilting Company by Karin from Cascade Quilts. |
| Fabric used in this tutorial is from Ambleside by Brenda Riddle Designs for Moda. |
| Do you love free fabric? Do you love to teach? Want to be a contributor on our blog? Send us an email at web@bearcreekquiltingcompany.com to get started! |



Comments